Super Soup

It’s Spring, but around here there’s still snow on the ground and we just entered the dark times between when the winter farmers’ market closes and the growing season farmers’ market begins. That means when I discovered this morning that I still have three quarts of this soup in the freezer, I was super happy.

I wrote about this briefly last year, but didn’t post the recipe, so here it is:

Super Soup*, adapted from Anna Thomas’ Green Soup

makes 6-8 qts – enough to freeze, scale down if you’re just making dinner

  • 4-6 qts chicken stock (unsalted, ideally home made)
  • 3 bunches spinach or chard, trimmed and chopped
  • 3 bunches kale or collards, trimmed and chopped
  • 1 to 2 bunches chives, snipped
  • 1 large bunch parsley, stemmed and chopped
  • 1 Tbsp sea salt (more to taste)
  • 3 medium potatoes (Yukon gold or similar)
  • 2 large onions
  • olive oil
  • 6 cloves garlic, minced
  • freshly ground black pepper
  • cayenne
  • juice of 1 to 2 lemons

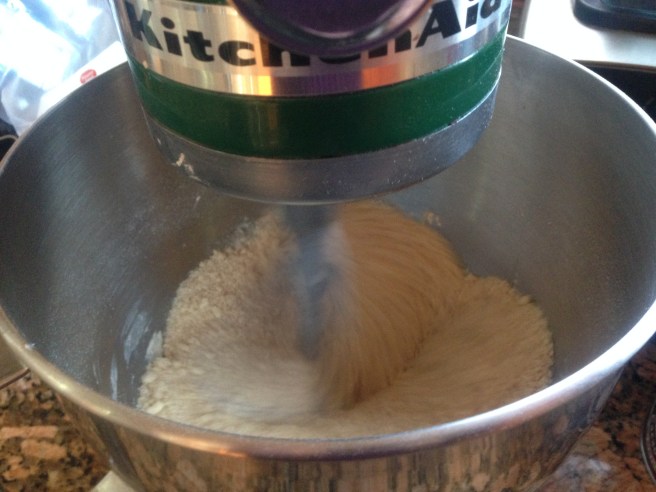
Combine greens, chives, and parsley in a large soup pot with 3 quarts stock and salt. Scrub the potatoes, cut into small pieces, and add them to the pot. Bring to a boil, turn down to low, cover the pot, and let the soup simmer for about half an hour.

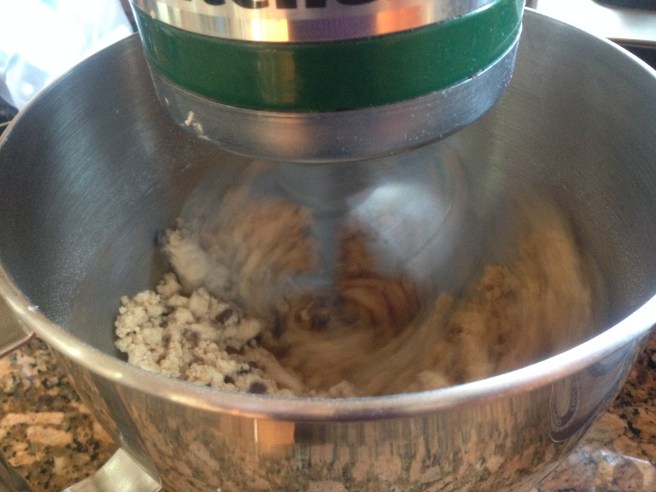
Meanwhile, chop the onions, heat a 1-2 tablespoons of olive oil in a skillet, and cook the onions until golden brown and soft. Don’t hurry them; this should take about half an hour. 

Add the caramelized onion to the soup. Put a bit more oil in the skillet and sauté the garlic in it for just a couple of minutes, until fragrant. Add the garlic to the soup pot and simmer the soup for 10 minutes more.

Puree the soup in a blender, in batches, or use an immersion blender. Blend just until it looks smooth; potatoes can turn gummy if you process them too much. 

Return the soup to the pot. Add more stock until you reach the consistency you like. My sweet spot is about 4 quarts total, but can vary depending on the size of the bunches of greens I used.  Bring it back to a simmer, and taste. Add a pinch more salt if needed, grind in some black pepper, and add a pinch of cayenne and lemon juice. Stir well and taste again. Correct the seasoning to your taste with more lemon juice or salt or cayenne.

Serve some immediately, garnished with a drizzle of fruity olive oil.

Freeze the rest and hope it lasts till fresh greens hit the farmers’ markets again.

____________________

*so named because as much as I like to be snide about “superfoods” this soup is packed with bone broth and all the greens and will totally help you through the dark times.

Home Again, Home Again – Chili and Cornbread

a round of cronbread with honey and butter in the background

We’re home from our American Thanksgiving gallivants, and dinner tonight is comfort food. For us, comfort food is often chili and cornbread*.

Chili is not really a recipe. Tonight’s has: onions, garlic, Serranos from the garden, salt, cumin, ancho chili, smoked paprika, epazote, yellow paprika, cocoa powder, ground beef, and crushed tomatoes. Other nights might have a different combination of peppers, maybe no epazote, and beans. Tonight’s would also have kale, if I had any, because I have a bad habit of sneaking kale into many things**.

My basic cornbread is pretty much just that, basic. I’m too much of a Northerner to claim any special cornbread skills or lore. It is good though.

  • 6 oz. corn meal
  • 2 oz. whole wheat flour (or other flour)
  • 1 1/2 tsp baking powder
  • 1/2 tsp salt
  • 1/2 tsp Aleppo Pepper***
  • 8 oz (1 c.) milk (any kind)
  • 2 eggs
  • 4 0z. butter, plus a little for the pan

If you have a 8 to 10 inch cast iron skillet, put the cold butter in the skillet and put the skillet in the oven before preheating. (If not, just butter an 8 or 9 inch square or round pan.) Preheat oven (and skillet) to 350º.

Whisk together the dry ingredients in a medium sized bowl. In a separate container (that will hold at least two cups), whisk together the eggs and milk. Once the butter is melted (melt it separately if not using a cast iron skillet), whisk it into the milk and eggs. (Put the skillet back in the oven while doing the final mixing.) Fold together the liquid and dry ingredients until just mixed. Scrape into the prepared pan and bake until firm and lightly browned, ~20 minutes.


*I also almost immediately made banana bread from the bananas that had languished here while we were out. It was almost as immediately gone. I’d share that recipe, but I just use one of Smitten Kitchen’s, so really you should just get it from her.

**Because I actually like kale.

***Here’s a connection I often think about when opening my spice drawer – Aleppo Pepper is originally from Aleppo, Syria. Syrian supplies have dried up due to the war there. I get Aleppo Pepper from Penzey’s, which imports it from Turkey, but I still never use it without thinking how global our connections are and without hoping for peace the people of Syria.

The Easy Scones – for Slow, Companionable Mornings

When people ask me what my favorite thing to bake is, I often answer “scones”. This may be simply a way of dodging the pie vs. cake debate*, but it’s also true. I love scones. They’re easy, and delicious, and still manage to feel special. They can be dressed up for tea, or made simple for potluck breakfasts.

I have a few go-to scone recipes. This one is the easiest, and great for if you wake up tomorrow and want to make something for a easy breakfast nibble.**

Cream Scones (I)

  • 7.5 oz (1 1/2 c) flour
  • 2 1/2 tsp baking powder
  • 1/2 t salt
  • 1.75 oz (1/4 c) sugar
  • 2.5 oz (~1/2 c) dried fruit (chopped to raisin size or so)
  • 1 c heavy cream
  • 1/2 tsp vanilla (or some lemon zest)
  • milk or cream and coarse (or regular) sugar for garnish

Preheat oven to 375ºF. Whisk (or mix) the dry ingredients together, then add dried fruit. Add cream and vanilla together and stir with a spatula until just mixed. You should have a rough dough. Pat into a round disk, ~1/2 inch thick, and cut into eight (or twelve) wedges.*** Place wedges, evenly spaced on a parchment or silpat lined baking sheet. Brush tops with milk (or cream) and sprinkle lightly with sugar. Bake until golden. ~20 minutes.


* The answer to “pie vs. cake”, of course, is often “tart!”

**If you don’t happen to have any pie, that is. Leftover pie for breakfast is a wonderful tradition.

***I use a bench scraper for this if I have one, but knife or other handy straight edge will work fine.

Procrastinating via Shortbread

completed shortbread finger cookies on a baking sheet with silpat

My family is getting on a plane this evening, traveling to see two sets of loved ones for Thanksgiving. This means I’m currently putting off packing and thinking about airplane snacks. Therefore, shortbread!

Shortbread is one of my favorite spur of the moment things to bake. It’s simple. It’s forgiving. It’s delicious. I’ve fallen out of the habit recently, but baking shortbread was even a part of my wedding vows.

Here’s how I do it these days: 1-2-3 Shortbread – 1 part sugar, 2 parts fat, 3 parts flour.

  • 6 oz flour – can be pastry or AP or a blend including oat flour. add a bit of rice flour if you like your shortbread crisp.
  • 4 oz cold, unsalted butter
  • 2 oz sugar
  • 1/2 tsp salt
  • flavoring and additions such as today’s:
    • 1/2 t vanilla
    • 1/4 c baker’s cut candied ginger
    • 2 T chocolate coated cocoa nibs

Blend flour, sugar, and salt in the bowl of a stand mixer*, fitted with the paddle attachment. Cut the butter into slices or cubes and add to the flour mixture. Mix on low until the dough begins to come together. This will take a long time, ~10 minutes**. You’ll see it progress from floury to sandy to pea sized clumps.

From this: sandy mix of flour and butter being mixed in a green kitchenaid mixer

To thisdough forming pea-sized clumps being mixed in green kitchenaid mixer

Once the dough begins to come together, add your flavorings and mix until well-incorporated.

Once the dough is blended, press it into a log (~2in diameter), or a rectangle or circle (~1/2 in thick), or shortbread molds if you have them and are feeling fancy, and chill for a bit in the refrigerator (30 minutes to… forever, more or less) either covered or wrapped in plastic wrap. Slice or cut into your desired shape and bake at 350ºF until done, just beginning to color at the edges, golden but not deep brown.

(Baking depends on the shape and thickness of your cookies. The fingers I just made took ~17 minutes.)


*yes, you really do want a stand mixer for this.

**this is why I said you’d really want a stand mixer

holiday traditions, aged eggnog

aged eggnog in half gallon jars on a counter

I can’t remember exactly when I made my first batch of aged eggnog. My guess is it was about nine years ago. Ever since then I’ve had at least a little every holiday season, most years because I made it, some years because there was leftover from the year before*, also because some of my friends make it too. I got the idea from Michael Ruhlman, who got the recipe from Chow. It’s delicious as well as a wonderful, intriguing, decadent drink to share with family and friends in the long, dark evenings of December**.

I generally don’t do the last step in the original recipe of adding whipped egg whites and cream. I simply serve the base in tiny glasses with a grating of nutmeg on top. The trick is, make this now. It’ll be ready to serve in three weeks, which, frighteningly enough, is mid-December, about when our first holiday party will take place.

Aged Eggnog

  • 12 egg yolks (or 9 duck egg yolks***)
  • 2 cups sugar
  • 1 liter bourbon
  • 1 quart whole milk
  • 1 cup heavy cream
  • 3/4 cup Cognac or brandy
  • 1/2 cup dark rum
  • Pinch sea salt
  • nutmeg, for serving

Whisk yolks and sugar together until well-blended. Add other ingredients and whisk again to combine. Pour into a one-gallon (or two half gallon or …) jar and leave in the refrigerator for at least three weeks. 

To serve: Stir to recombine, if needed. Serve in tiny glasses with a grating (or shake) of nutmeg on top. Cheers!


*Yes, this stuff really does keep for years.

**or of June, if you’re much further South than I am

***Wait… duck eggs? The first time I made eggnog with duck eggs it was simply because I had some, and I thought that was cool. More recently it’s because a dear friend of mine in allergic to chicken eggs (and it’s still kinda cool). I’ve made this recipe with a dozen duck egg yolks, but the results were a bit … overly eggy. Duck eggs have bigger yolks (~.9 oz) than chicken eggs (~.65 oz), so 8-9 works well.

Recipes and Noncompliance (Pumpkin Bread)

loaf of pumpkin bread on a wooden cutting board

It often goes something like this:

I have some leftover pumpkin puree in the fridge which I want to use before it goes bad. I’m feeling uninspired by soup. I find, and then lose, an intriguing recipe for pumpkin spice cupcakes. (Younger kid’s reaction was “Can you leave out the spice?” when I was hoping for “Yay! Cupcakes with cream cheese frosting!” So my initial cupcake enthusiasm dimmed.) I decide to make pumpkin bread.

I do a quick search for online pumpkin bread recipes, reject one for having too many things, and choose another. (This one, this time: https://food52.com/recipes/8141-pumpkin-christmas-bread.) I skim it, preheat the oven, and start throwing ingredients together.

I don’t want to use white flour. I start to substitute half oat and then worry that’ll be too dense and stop at one third oat. I use whole spelt flour for the rest.

I think about subbing in coconut sugar for brown sugar, but don’t do it.

I think maybe 1 tsp baking soda is too much, but decide that pumpkin is probably acidic to handle it. (I have no idea if this is actually true.)

1/2 tsp cloves! Really? That’s a lot of cloves. 1/4 tsp.

Hey look ginger! That’s good with pumpkin. Add 1/2 tsp ginger.

Why is there no salt in this recipe? I hate when sweet recipes decide they don’t need salt! 1/2 tsp salt. Nyah. 1 tsp salt.

OK. Time to add the oil and pumpkin. (I’m dumping everything in the same bowl using a scale.) Oil. Check. Oh, oops, I don’t actually *have* 10 ounces of pumpkin. I have 9. It’s all already in the bowl, but I worry it’ll be too dry without that final ounce. I add a grated apple (which was in the other recipe, the one I read and rejected).

Bake. Hope.

Results: Not bad. Good with soft butter. I like the ginger. Could use less baking soda (maybe 3/4t). Also more oven time (was 1hr 20m – still extra moist).

Usually, that’s where it ends. I fail to take notes, forget which recipe I started with, and start all over again next time I have too much pumpkin. This time I actually wrote it down and the kids kept asking for pumpkin bread, so I kept iterating.

2nd version:
all spelt
3/4 tsp baking soda
*scant* 1/4 tsp cloves
1/2 tsp salt
1/2 tsp ginger

Results: good, but crumbly – try eggs?
also maybe reduce sugar

Pumpkin Bread, Current version:

  • 1 2/3 cups spelt flour (or whole wheat or …)
  • 1/3 cup light brown sugar
  • 2/3 cup granulated sugar
  • 3/4 tsp baking soda
  • 1/4 tsp ground cloves
  • 1/2 tsp ground ginger
  • tsp ground cinnamon
  • 1/2 tsp ground nutmeg
  • 1/2 tsp sea salt
  • 1/3 cup vegetable oil
  • 10 oz pumpkin puree (or other squash)
  • 2 eggs

Preheat oven to 325ºF. Oil a large (1.5 lb) loaf pan. Mix dry ingredients. Mix wet ingredients separately. Combine until uniform, but don’t overmix. Pour/spread in loaf pan. (It’ll be thick!) Bake ~65 minutes.

Results: Pretty good. Slices without crumbling. Still noticeably sweet, but a little less so. I may even leave it this way next time.

I <3 Food Writing (More than Recipes)

I own a full bookcase worth of cookbooks. It is only one bookcase because every time (OK, sometimes a year after every time) it goes over, I do an emotionally traumatic cull and let something go. I love my cookbooks.

I don’t cook much out of books, though. I read them, often cover to cover when I first get them, and then I keep them around for inspiration. If I’m attempting something new or complicated (or old and beloved but not set in stone), I’ll pull out a few different books to read their variations on the theme. I’m generally too non-compliant to follow any recipe word for word. (Unless its chemistry dictates that as the only wise choice, and sometimes, to my chagrin, not even then.)

I sometimes forget that my non-compliance runs deep when I discover new (to me) online food writing. I love reading food blogs as much as I love cookbooks. When I fall in love with a writer, I’ll often try their recipes word for word. And then, after the first few, I relearn the lesson. I’m just not wired that way.

Today, it was the Food Lab’s Ultra-Gooey Stovetop Mac and Cheese. This is an awesome article, full of both science and cheese. I wanted to love the recipe, too. More than that, I hoped to convince my kids to love it, especially the one who refuses to eat “good” mac and cheese, but loves the box kind. This one has real cheese! No dice, though. Too gooey. I suppose I should have guessed from the name and I definitely should have guessed from the cheese to pasta ratio, but I wanted to believe! Next time, I’ll use twice as much pasta. (You may love it as written! I know people who do! Maybe we’re just weird anti-goo people. Sure is a lot of cheese to pasta though.)